Before you can start building Angular applications, you should have a basic understanding of the following technologies and concepts:
- HTML/CSS: Angular uses HTML and CSS for defining user interfaces and styling applications.
- JavaScript/TypeScript: Angular applications are built using JavaScript or TypeScript, which is a typed superset of JavaScript.
- Node.js and npm: Angular requires Node.js and npm to be installed on your machine to manage packages and dependencies.
Environment Setup for Angular
Install Visual Studio Code
To install Visual Studio Code for Angular development, follow these steps:
- Go to the official Visual Studio Code website (https://code.visualstudio.com/) and download the installer for your operating system.
- Run the installer and follow the on-screen instructions to install Visual Studio Code.
- Once the installation is complete, open Visual Studio Code and install the following extensions for Angular development. These are not necessary but They will help you in Development:
- Angular Language Service: provides additional language features and improved IntelliSense for Angular templates and components.
- Angular Snippets: provides a set of code snippets for common Angular features and functions.
- TSLint: provides code analysis and style checking for TypeScript files.
- To install these extensions, open the Extensions panel in Visual Studio Code by clicking on the Extensions icon in the left-hand sidebar (or by pressing Ctrl+Shift+X on Windows or Cmd+Shift+X on Mac). Search for each extension by name and click the "Install" button.
That's it! You've successfully installed and set up Visual Studio Code for Angular development.
NodeJS and NPM Install
To install Node.js and npm on your machine, follow these steps:
- Go to the official Node.js website (https://nodejs.org/en/) and download the installer for your operating system.
- Run the installer and follow the on-screen instructions to install Node.js. This will also install npm, which is the Node Package Manager used to install and manage Node.js packages.
- Once the installation is complete, open your terminal or command prompt and type 'node -v' to check the version of Node.js installed. Then, type 'npm -v' to check the version of npm installed.
- To verify that Node.js and npm are installed correctly, you can create a simple "Hello, World!" program. Create a new file called hello.js and add the following code:
- Open your terminal or command prompt, navigate to the directory where "hello.js" is located, and run the following command:
- This should output "Hello, World!" to the console.
Now you have successfully installed Node.js and npm on your machine and verified that they are working correctly. You can proceed to install the Angular CLI and start building Angular applications.
Angular CLI Installation
- Install Node.js: Before installing the Angular CLI, you need to make sure that you have Node.js installed on your machine. If you don't have it already, you can download and install it from the official Node.js website: https://nodejs.org/en/download/ or follow the above steps to Install.
- Note: Angular CLI requires Node.js version 14.15 or later.
- Open a terminal or command prompt: Once Node.js is installed, open a terminal or command prompt on your machine. You can do this by searching for "Terminal" or "Command Prompt" in the start menu.
- Install Angular CLI: In the terminal or command prompt, type the following command to install Angular CLI:
This command will install the latest version of Angular CLI globally on your machine. The "-g" option indicates that the package should be installed globally.
Note: If you encounter any issues during the installation process, you may need to run the command with administrator privileges. On Windows, you can do this by right-clicking on the command prompt icon and selecting "Run as administrator".
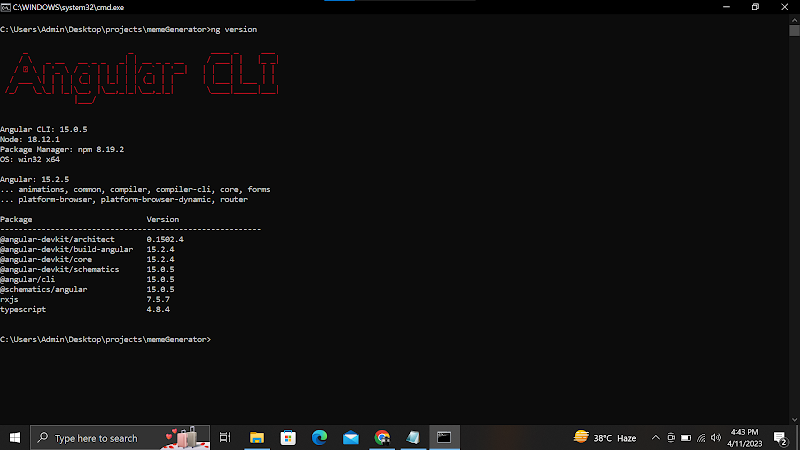
- Verify installation: Once the installation is complete, you can verify that Angular CLI is installed by typing the following command:
This command will display the version of Angular CLI that is currently installed on your machine.
That's it! You have successfully installed Angular CLI on your machine. You can now start using it to create new Angular projects and develop Angular applications.


0 Comments: